I am trying out a Paper pack I saw on Amazon, Canson 90 Pound Watercolor paper (see Supplies listed below) to make another Bullet Journal. I used some of my other Sketch/Notebooks I made previously, but they seemed really bulky because of the heavy Watercolor paper. I wanted to see if I could find a little thinner paper that could still take some Watercolor and most of the Markers I use--no luck so far, any of the papers I tried can't take Copic Markers without heavy bleed-through 🙁
This is a pretty long post, as I try to include pictures of the steps to complete this project. There is a lot more detail that can be covered, but there is so much already published on this that I just included links to references I use myself.
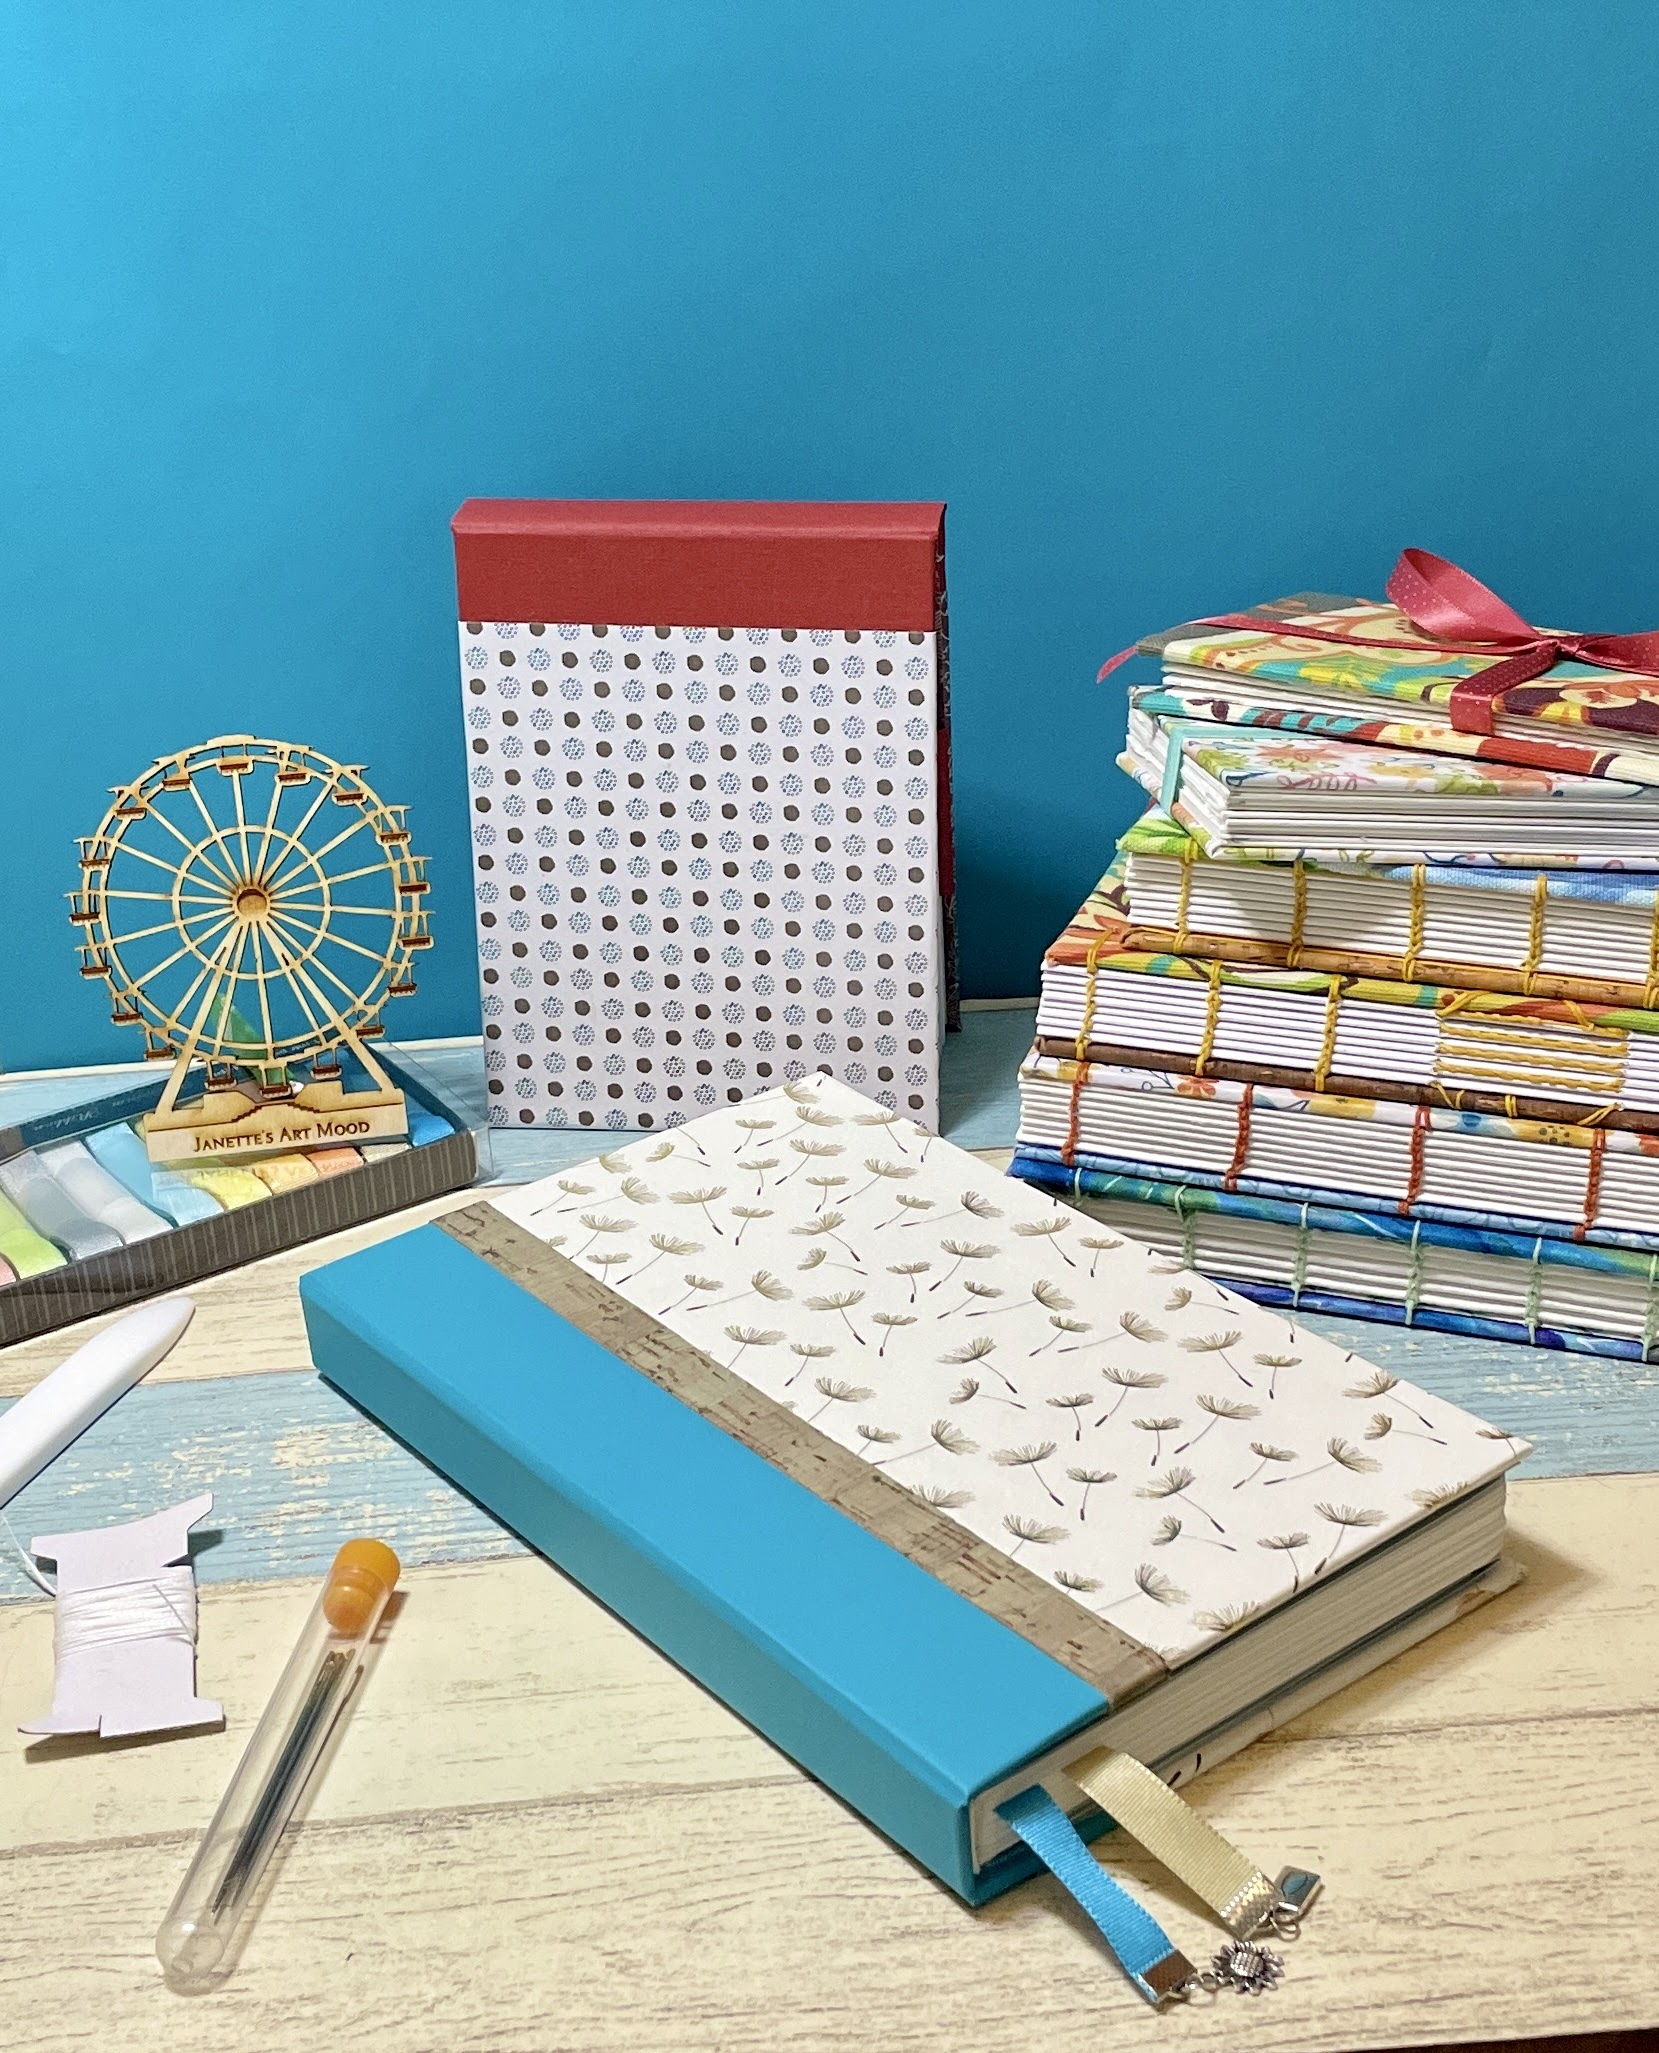 |
| The completed Journal |
The first thing I do is cut the paper down to the correct size. I don't want to do too much calculating and I also want to make it easy to print my dots and my Laser Printer doesn't take anything larger than normal Letter Size (8.5x11 inches). There are a few ways to cut the paper:
- You can use a utility knife and Ruler - I've done this but it's cumbersome and prone to mishaps
- You can use a Paper cutter with a few pages at a time to get straight cuts - also cumbersome
- You can use a Heavy-duty Guillotine cutter (like that one I listed below) which cuts paper (and book board) very accurately and 'like buttah' 😊
- or you could take your paper stack to a local copy shop and ask them to cut it for you. One note, however; once you've completed your Text block, you'll want to cut the long side again if you want your edges to be smooth and even. If you use watercolor paper this may not matter, as I often like to leave the deckled edge as is.
One more thing to do before cutting the paper is to figure out how many pages I will want for the Journal. I'm afraid this will involve some Math 😟, but not too much, I promise.
Books are made up of sewn-together Signatures. A Signature can be any number of folded pages grouped together, as long as they are not too bulky. This can range from anywhere between 10 Pages (for normal Copy Paper thickness) to 2 pages (for really thick Watercolor Paper). The Signatures are then glued along the Spine for stability. This is referred to as the Text Block. Ok, this was just my over-simplified explanation. You can get a lot more detailed info and How-To's from YouTube (where else?)--there are literally tons of them. A couple really good ones are Sea Lemon and DAS Bookbinding.
For the Canson Paper, I decided on 3 Pages for one Signature and 10 signatures, so a total of 30 full (letter-sized) pages. Each folded Page represents 4 Journal Pages, so you will get 12 Pages per Signature. The 10 Signatures then translate into a total of 120 Pages. I could have done more Pages but I didn't want the Journal to get too bulky. Also, I checked a few sites that sell Journals and got an average of total Pages for standard-sized Journals (A5 size is pretty close to 5.25 x 8.5 - a folder Letter-size Page).
Here is a great site to create and download your Dot pages. You can tweak all the details, like Page size, Dots per Inch, color of dots, Page orientation and Margins.
 |
| Cutting the paper down to size |
 |
| Printed Dot Page before folding |
 |
| Folded and assembled Signatures |
After the Signatures are assembled, it's time to punch the holes for sewing them together and create the text block. Now there are many ways to do this, from simply using a ruler and marking spots about every inch (if you're just making one or two Journals) to using a small saw to notch hole to the text block. You can also purchase punching cradles from many online sources. I'm still deciding which way to go, so in the meantime I made one using cardboard 'corner' support braces from a package I received and the bottom of my Apple Watch Box -- Yay for up-cycling 😊. I usually just measure out ¼ inch from each side and then one hole every inch.
 |
| My Homemade punching cradle |
 |
| Punching holes |
 |
| Signatures with punched holes |
Ok, now that the holes are done, we'll move on to sewing the signatures. Again, I'm still referencing great online tutorials to get started (I haven't done so many books that I have it memorized yet 😊). I do want to note though that I prefer using a curved needle because it's (for me anyway) easier to loop around the stitches and still hold on to the signatures to ensure a snug stitch. Also, I have arthritis in my finger joints, so the fewer extra motions I can perform to get the job done, the better.
A really good one I refer to a lot is Sea Lemon's Sewing a Text Block video.
 |
| Inside View of stitching the signature |
 |
| Outside view of signature sewing process |
 |
| All done and ready for glue |
At this point I put the text block into my old book press to hold it in place for applying the glue. I think this is one of the first book presses people usually make. It's really easy to do and inexpensive (I used a couple of cutting boards) and works pretty well. Sea Lemon has a good tutorial on how to make one of these as well.
 |
| Glue is applied and waiting to dry |
Next, I added some strengthening material to the spine and glue on the Ribbon (for the bookmarks) and a Headband (this is totally optional).
 |
| Added strengthening material, ribbon and headbands |
You can add End Papers here or decide to glue the Text Block directly to the Cover. The last major Step is gluing the Text Block into the Cover. This is one step I still have the most issues with. If the spine you cut from the book board isn't the correct size or the gap distance between cover board and spine is incorrect, you'll have trouble getting the Text Block aligned properly, which means the book won't open easily.
Everything will need to go back into the book press to set the glue--overnight is generally recommended.
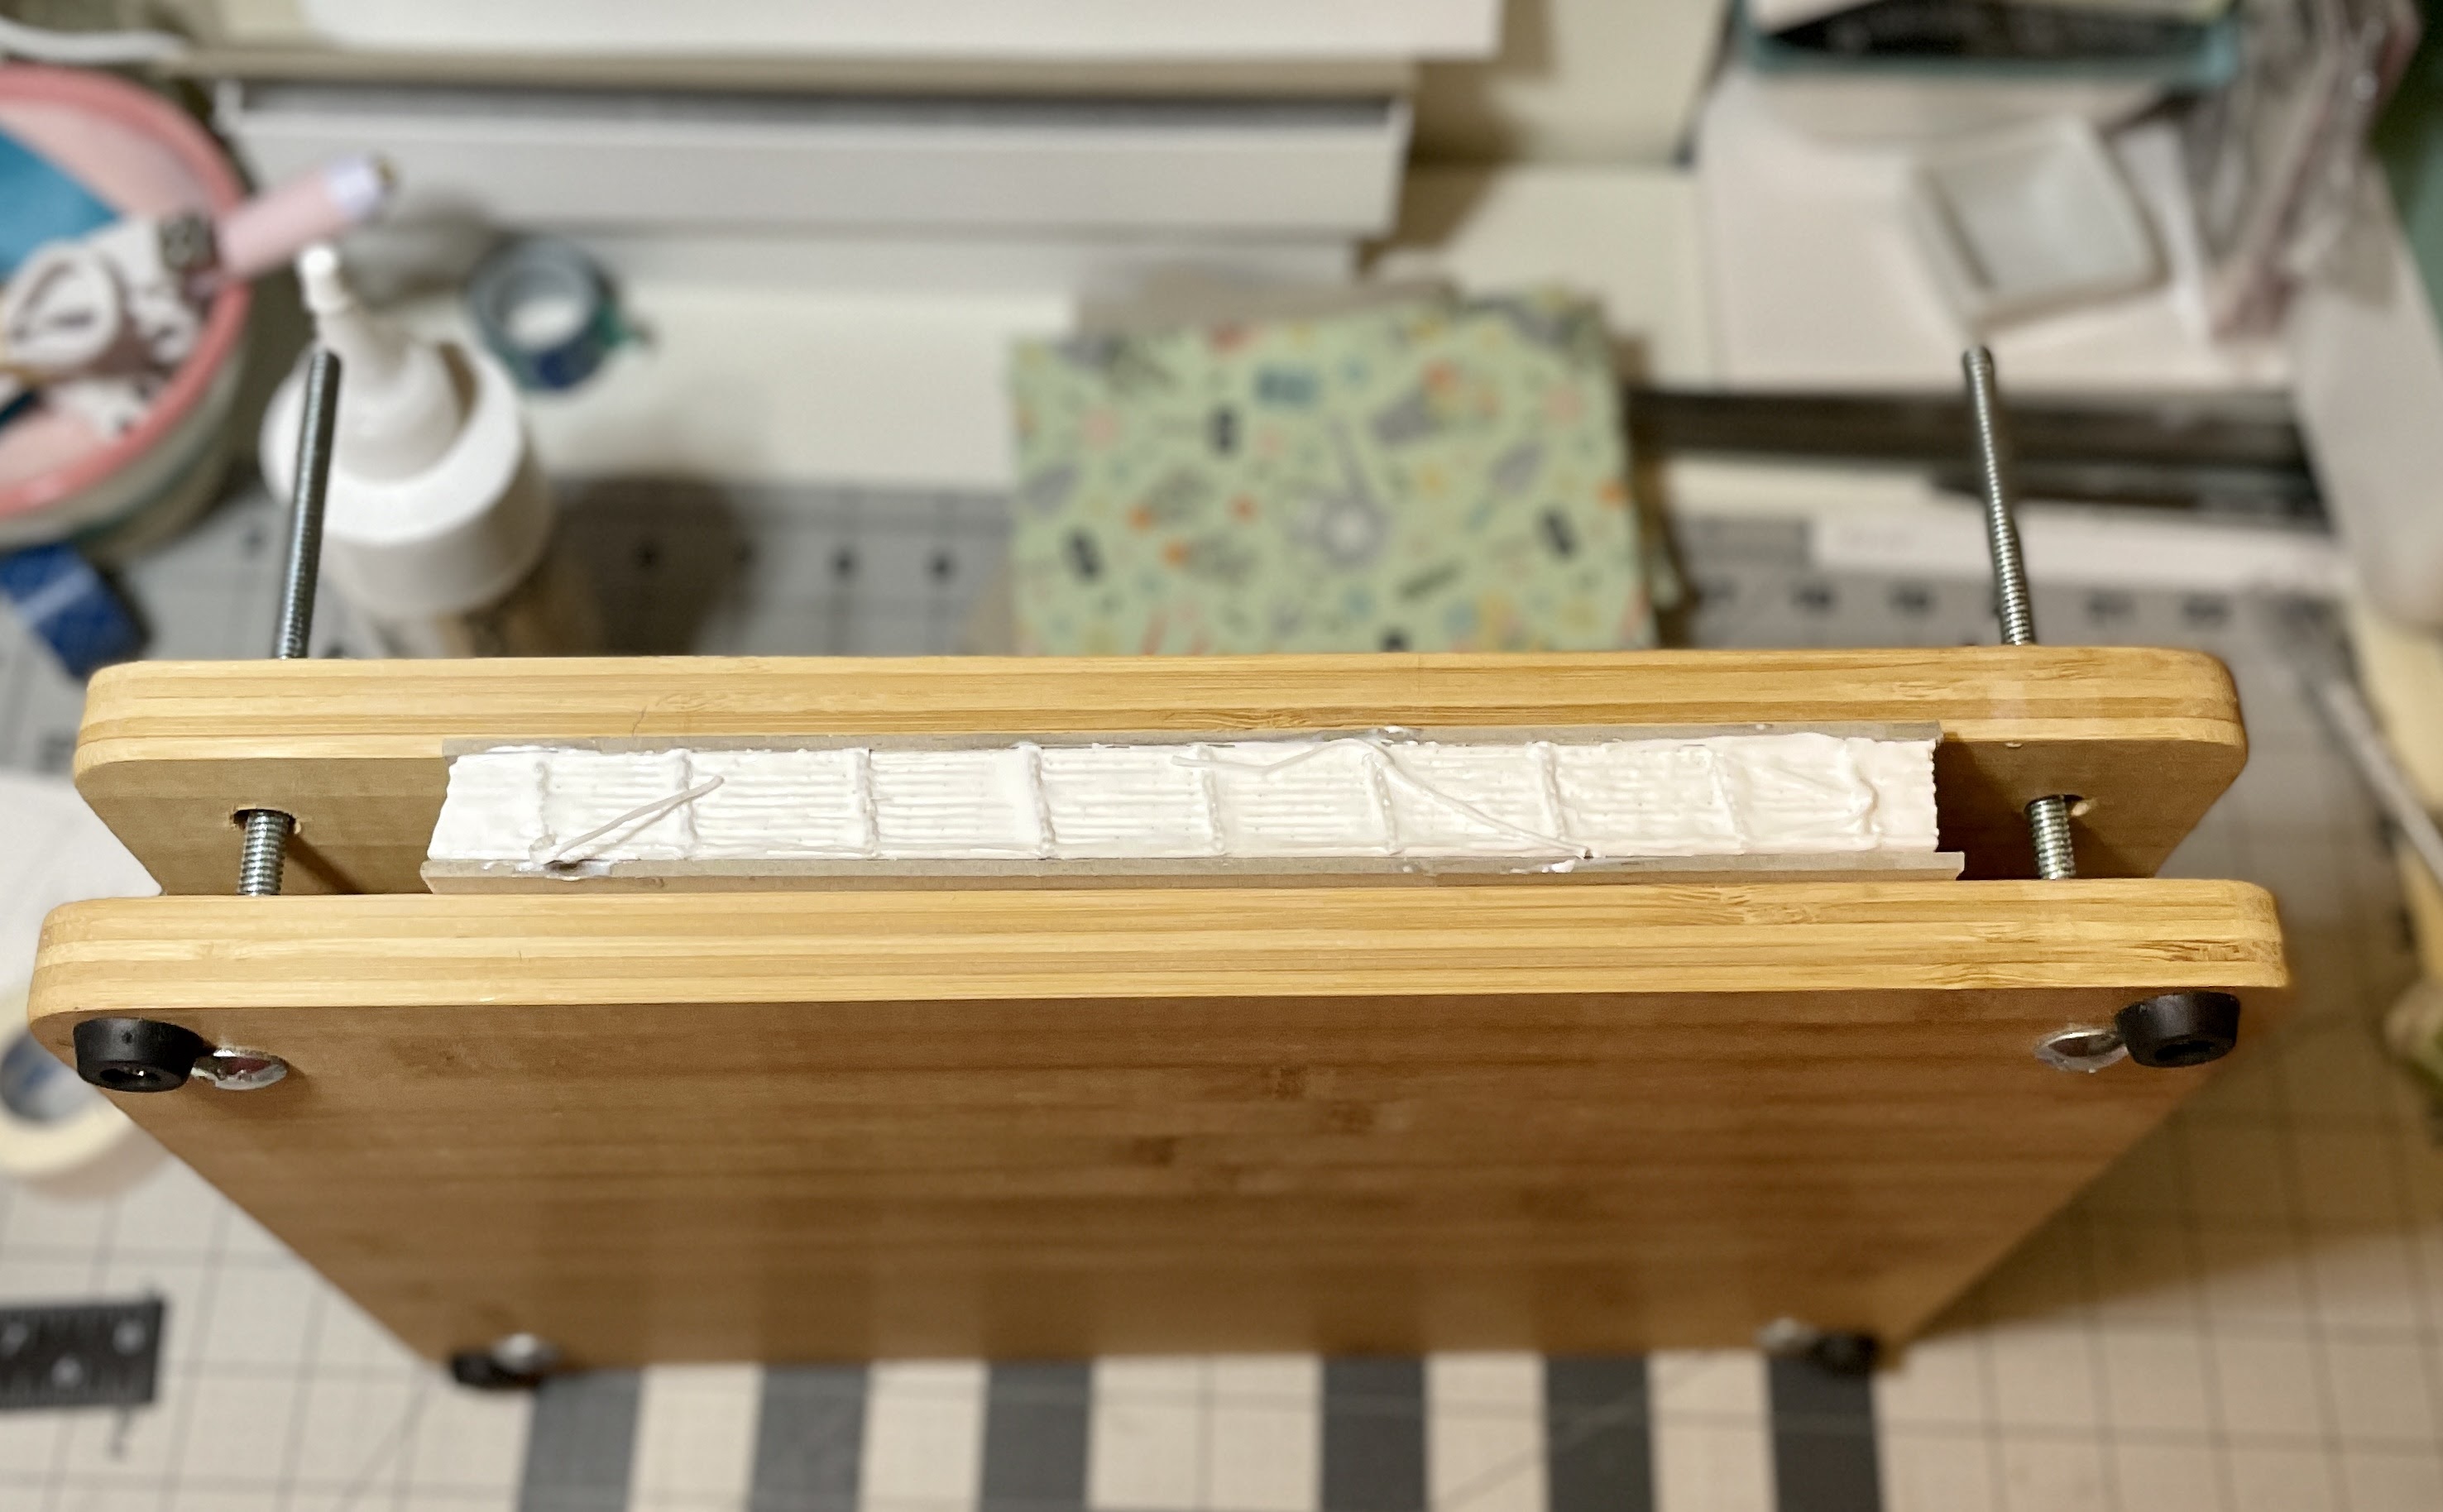
Partly because of my arthritis, but also because I'm generally lazy 😊 I made another book press, or nipping press following a great tutorial from DAS Bookbinding.
I made a couple of adjustments by using wood and 'feet' I had on hand.
 |
| My Homemade Nipping Press |
 |
| I added leftover Ikea furniture feet 😊 |
Once the glue is dry (I like to leave it overnight just to be sure, since I'm using a couple of coats), you want to decide on your cover material. I've listed some sources in the Supplies below
Again, there are many ways to create a cover and also the material (if you want to use fabric). I decided on a light patterned paper with a solid color band extending about 1.5 inches from the spine and a thin accent strip to separate them on the front cover only. I then picked two coordinating color ribbons to use for bookmarks. You can worry about the charms to put at the end of the Bookmarks later (or you don't need to add any), but if you do want to use bookmarks, they need to be glued to the spine before you glue the text block to the cover.
You can find the book board I use in the Supplies below. Here is a how-to for creating the Hardcover Case from Sea Lemon (yes, again 😊 I found that her tutorials are easy and to the point).
Here are some process photos of my Cover.
 |
| Gluing the Paper to the book board |
 |
| Weighing down the glued edges |
 |
| The finished Cover and an assortment of Ribbon |
And that is it--no really! 😊 I know this was very long, but I wanted to see if I can put down the Steps and the Process and because I have had people ask me if I could make a video or share how I make my Notebooks when I post pictures of the finished ones.
I would love to see any Journals you created and I hope I was able to provide some help for anyone starting out making their own sketchbooks or Journals.
 |
| Hi from Dusty and Soxx |
Supplies used:
(Please note that some of these are Affiliate links, see my Disclosure Info)
From Amazon:
Paper: Canson Watercolor Bulk Paper Pack, 90 Pounds, 11x15 inch, 100 sheets
Glue: Lineco Neutral pH Adhesive
Utility Knife: OLFA 25mm Extra Heavy-Duty Utility Knife (XH-1)
Bookmark Ribbon: Fantasia Ribbon Selection - 3/8 Inch x 1 Meter (3.28 feet) x 12 PCS
Elastic for Book closure: Flat Elastic Band, ¾ inch wide (different colors)
For Bookmark Charms: Pandahall 500pcs Iron Ribbon Ends Fastener Clasps Kit
If you're really serious about Bookbinding and tired of messing up cutting your Text Blocks, you could check this out:
HFS (R) Heavy Duty Guillotine Paper Cutter -12'' (12'' Paper Cutter) (Note: I got mine through Amazon Warehouse - only the box was a little damaged, but I got the cutter for around $90!!)
From Hollander's:
Book Board: Standard Board .100 Set of 8 Sheets - 13" x 19"
Cover Material: Garden Raintree Leaves (Decorative Paper)